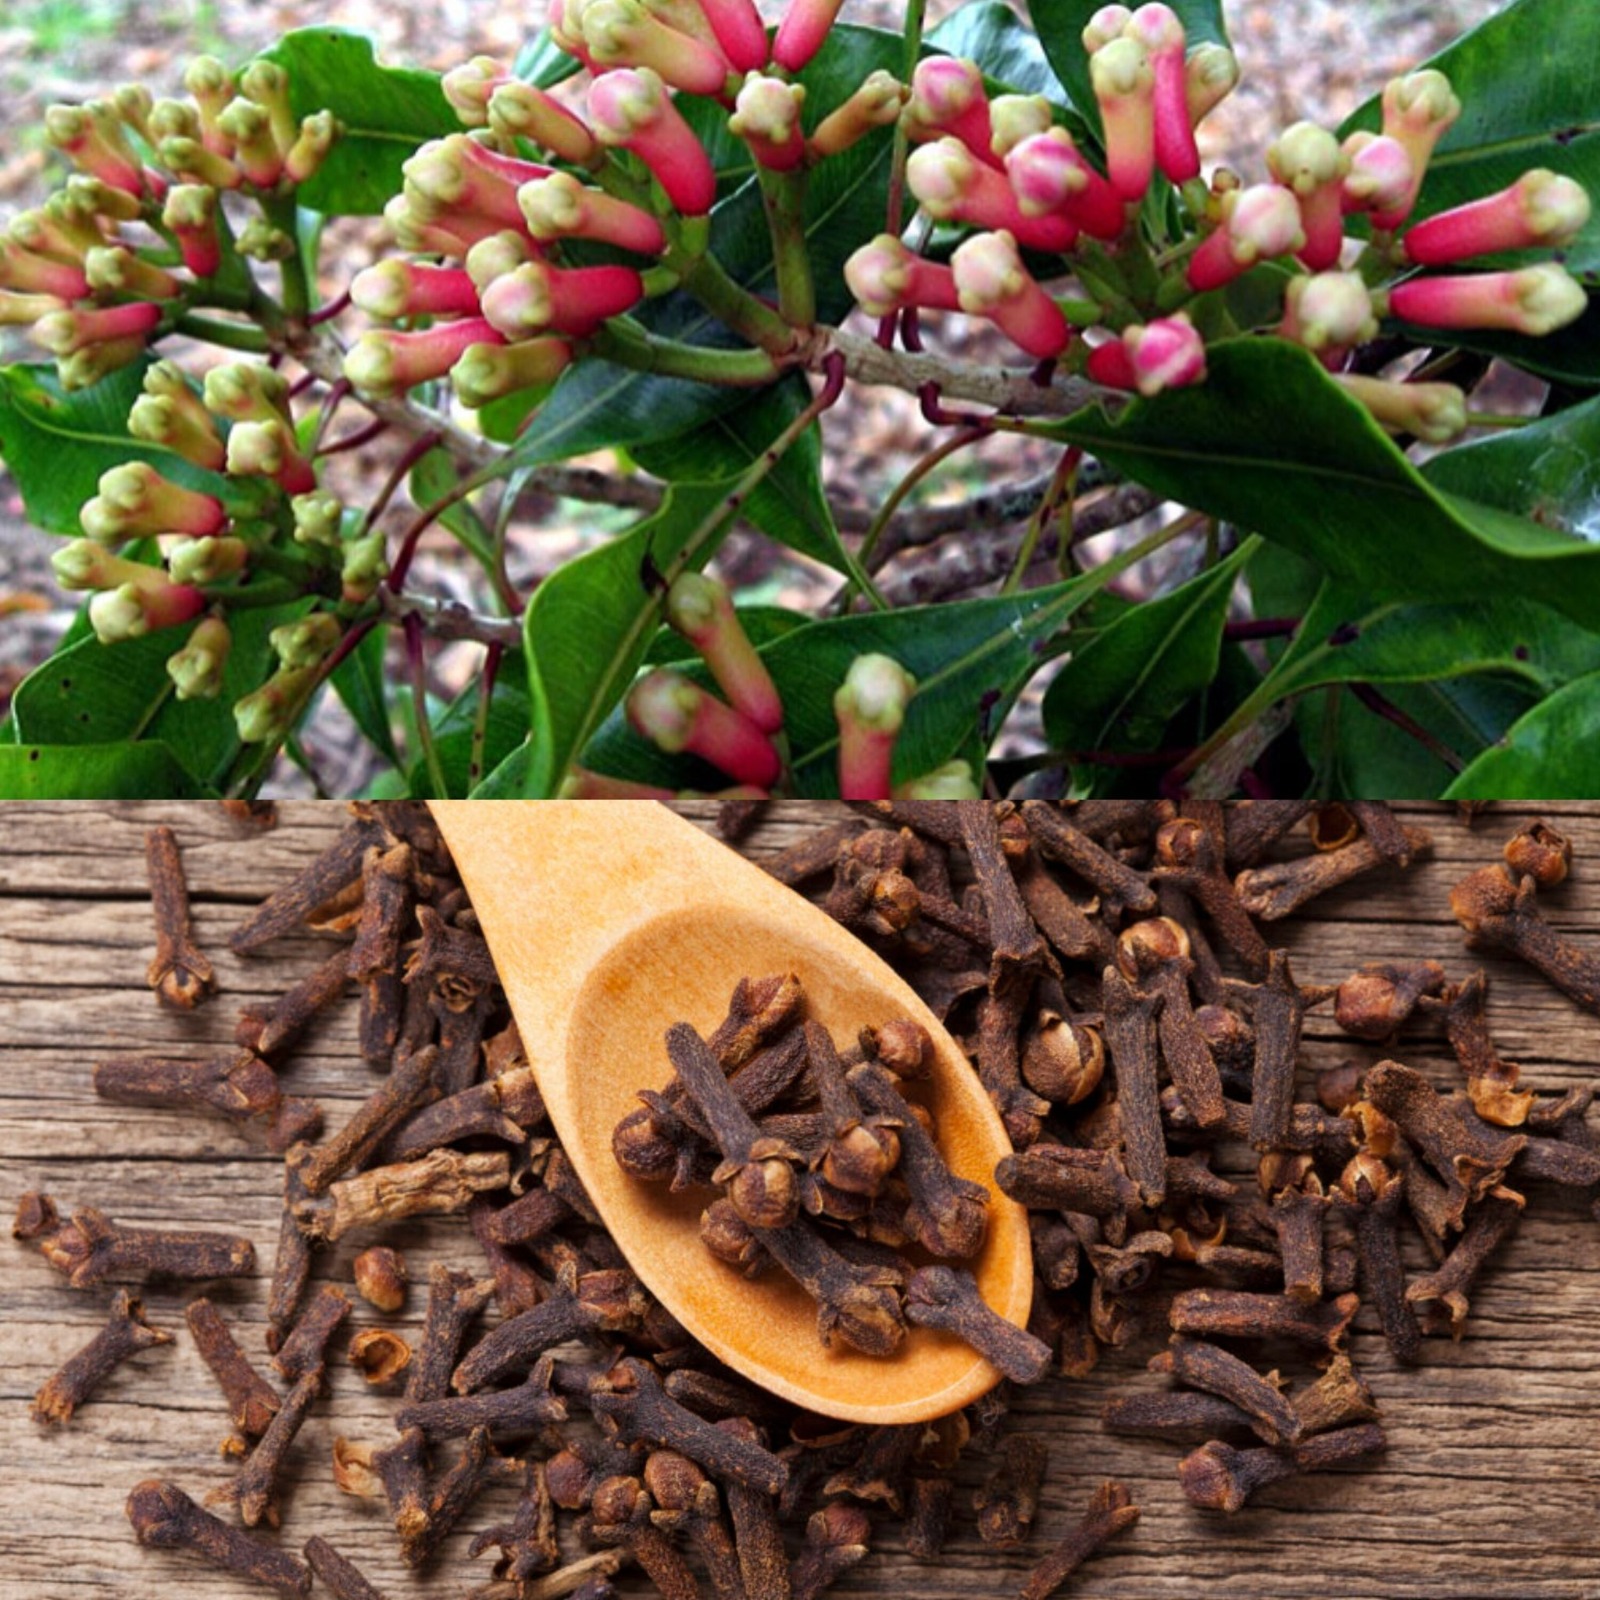
Embarking on the journey of growing your own clove plant is an enriching and enjoyable venture. This guide is perfect for both novices and seasoned gardeners, offering step-by-step instructions on cultivating cloves from seeds to harvesting your home-grown spice. Let’s jump into the world of clove gardening!

Starting with Clove Seeds
Before you begin, make sure you have these essentials:
- Fresh, robust clove seeds
- Small pots or seed trays
- Well-draining potting soil
- Plastic wrap or a clear cover
- Warm water
Steps for Germinating Clove Seeds
- Seed Selection: Opt for fresh, healthy cloves. The fresher the seed, the higher the germination likelihood.
- Seed Soaking: Soak the seeds in warm water for 24 hours to soften the outer shell, aiding germination.
- Prepare Pots/Trays: Fill pots or trays with well-draining soil, leaving room at the top for planting.
- Planting Seeds: Plant the pre-soaked seeds about 1 inch deep. If using trays, space them evenly.
- Creating a Mini Greenhouse: Cover with plastic wrap or a clear cover to maintain moisture and warmth, crucial for seed sprouting.
- Maintain Conditions: Keep the soil moist (but not soggy) and place in a warm spot with indirect sunlight.
- Patience for Germination: Clove seeds take time to sprout, sometimes several weeks. Once they do, remove the cover and provide filtered sunlight.
Transplanting Clove Seedlings
When your seedlings are sturdy with several true leaves, they’re ready for bigger pots.
You’ll need:
- Larger pots with drainage
- Nutrient-rich, well-draining soil
- Balanced, slow-release or organic fertilizer
Transplanting Steps:
- Choose larger pots with drainage holes to ensure proper water flow.
- Fill the new pots with nutrient-rich, well-draining soil.
- Carefully remove the seedlings from their current pots or trays, being mindful of the roots.
- Place each seedling in its new pot, making sure it is positioned upright and at the same level as before.
- Gently pack the soil around the base of the seedling to provide stability.
- Water the transplanted seedlings thoroughly and place them in a spot with indirect sunlight.
- Apply a balanced, slow-release or organic fertilizer according to the package instructions.
- Continue to water the seedlings regularly, ensuring the soil remains moist but not waterlogged.
By following these simple steps, you’ll be well on your way to growing your own clove plant and enjoying the satisfaction of harvesting your own home-grown spice! Happy gardening!